March 03, 2005
Fabrication Process for a Small Panel
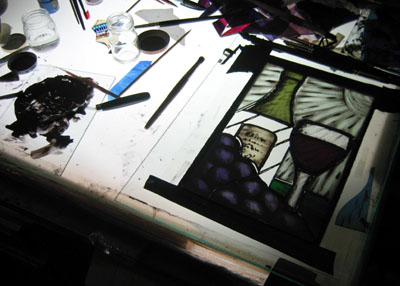
I designed a small wine and grape themed panel for a local arts auction.
Here is the fabrication process.

-----The pattern pieces have been cut and the cutting of glass begins. I've just cut the green tint for the background.
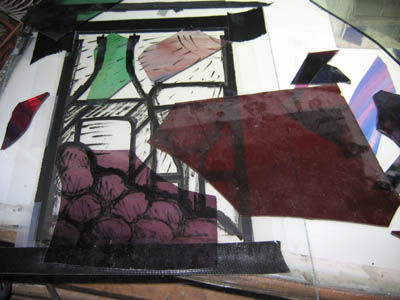
-----At first the palette is on the light table while I select out scraps of glass that might be used.
-----The palette is then propped up in the window and the pieces are waxed up one by one. When doing these smaller panels I often cut out 2 panels at once. That way I can pick and choose to make the best panel and still have the possibility of another after that. Sometimes I'll scrap the extra if it doesn't work out. In this case I'm making a second with a blue grey background. This is partly to cover myself if the silverstain does not work out well in the tint glass for the background.
-----Trace painting.
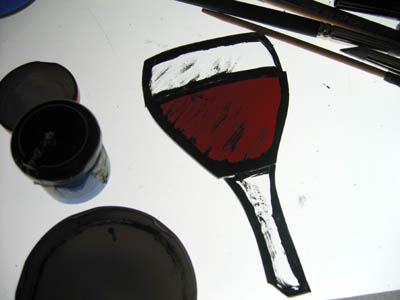
-----closer view.
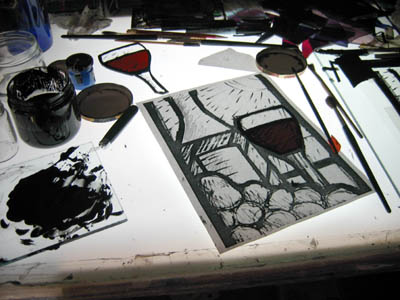
-----I don't have to fire these before I do the tonal but I'm more used to it that way. This is the tonal painting - the paint brushed on and blended, then the light areas picked out with stencil brushes. The mess and dust of this process is the main reason I switched over to all non-lead glass paints. I have not noticed any difference except for improving my peace of mind about working with the stuff.
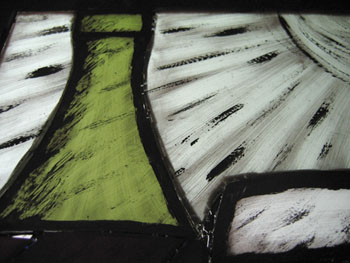
-----Close up of the tonal painting
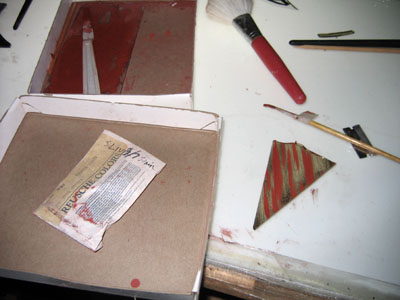
-----Silverstain is applied. This shows the method, though the pieces for the panel were already in the kiln by the time I remembered the camera. The silverstain compound (silver nitrate) is applied with a brush to the back of the piece. It is blended lightly (unless you want distinct orange outlines around the silverstain areas), then fired in at a relatively low kiln temperature. The silverstained should not touch metal and the brushes. Also, the blender etc must all be seperate from the ones used for regular vitreous paints.
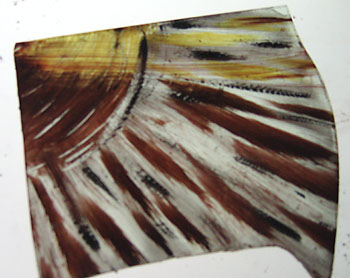
-----After the piece is fired (to about 1100 degrees fahrenheit) the red brown residue is wiped off to reveal the clear yellow stain in the glass.
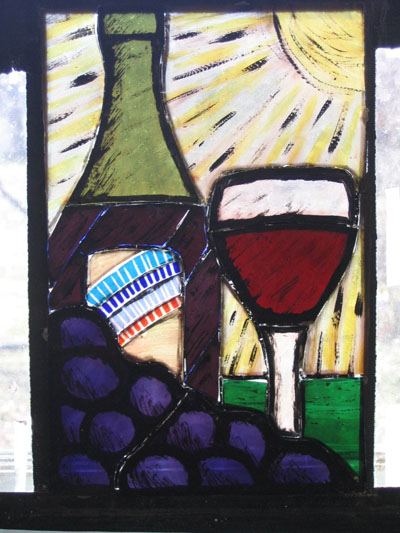
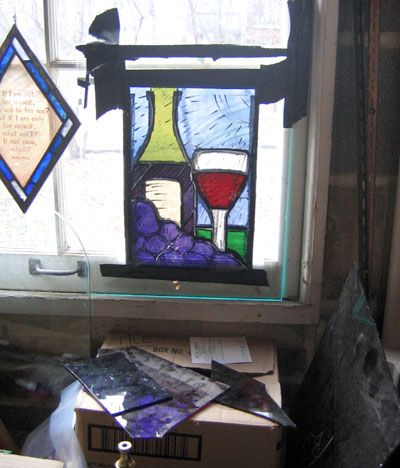
-----The final wax up before assembly. I had though of adding this stripe to the label area. When I saw it waxed up with the yellow dominant background, the two areas seemed to fight each other. As much as I like the stripe area it just calls too much attention to itself.
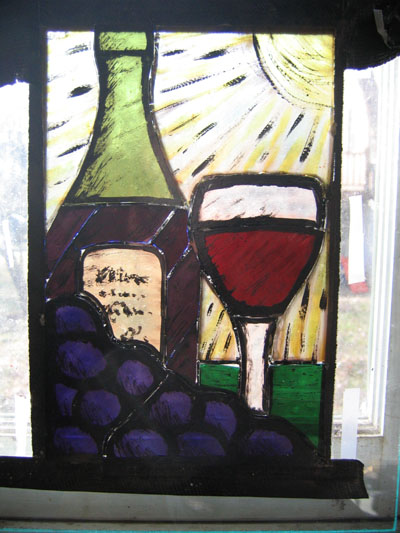
-----I went with the simpler single piece for the label.
Now it's all ready to assemble.
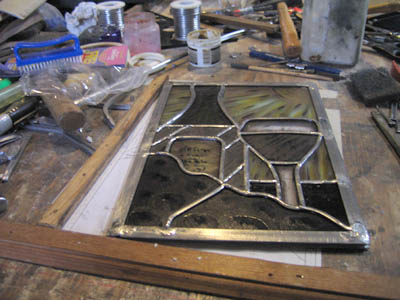
-----Just after assembly. Again, I finished the panel before I remembered to take any pictures with the camera.
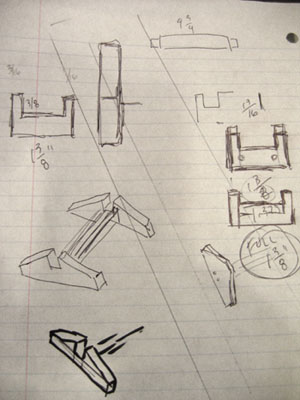
-----I wanted to make this panel so that it could be displayed on a stand or hung in a window. I started with some design ideas for the stand.
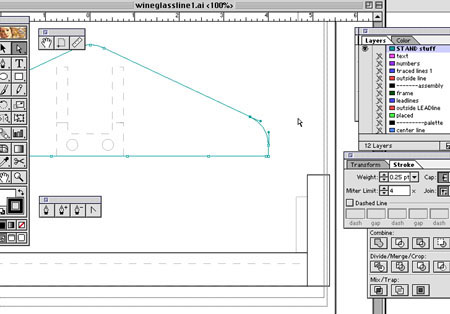
-----Translated those into more specific computer drawings
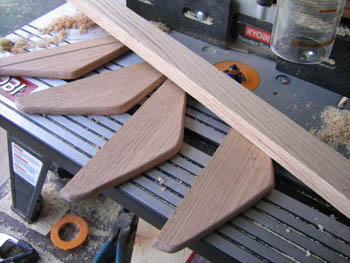
-----Start cutting the pieces.
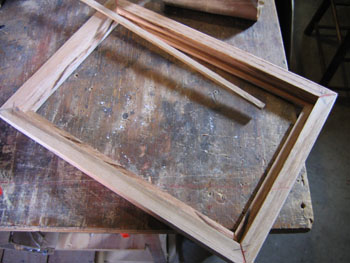
-----Assemble the frame itself.
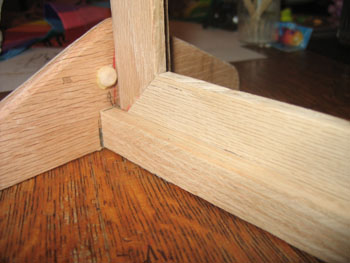
-----Note the change from the drawing. the original idea was to have two small rails on the side to hold the panel. It worked out better to put button size plugs in to hold the panel.
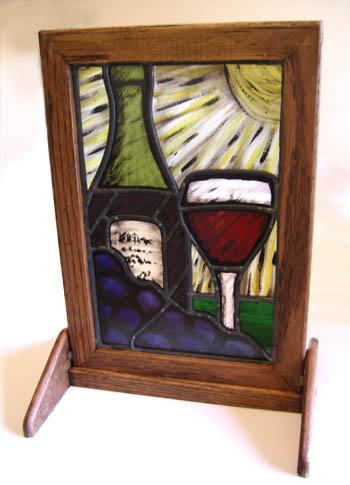
-----The finishedpanel in its stand.
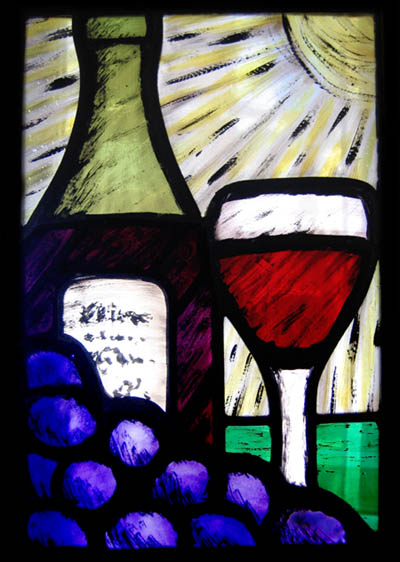
-----This is the panel in sunlight.